Article: Using Sugar Gardens Silicone Pearl Mould

Using Sugar Gardens Silicone Pearl Mould

First Step - What you need: brush and corn starch.
Brush our silicon mould slightly with corn starch, this way you prevent sugar mass sticking to the mould. Repeat this step based on how much pearls you are making, usually, you need to repeat this step after you have made 3-4 pearl lines.

Second Step - What you need: Sugar Gardens Pink Sugar Paste
Take about 10 gr of pink Sugar Gardens flower paste, and roll out a small line, but bigger than the pearl line and place it on top of the silicon mould pearl line.

Third Step - What you need: Dresden Tool or Vein tool
With Dresden Tool or Vein tool, start to push the sugar paste inside the pearl mould. Scrape it off the sides and make the top of the mould even as possible, keep pushing forward till you fill the pearl line full.
Use leftover sugar paste for the next line, by repeating the second step or store in original packaging for future use.


Fourth step
Carefully remove the pearls out of the mould, making sure that you don't stretch them ore break them.

Fifth Step - What you need: Sugar Gardens Edible Glue and a small brush for glue.
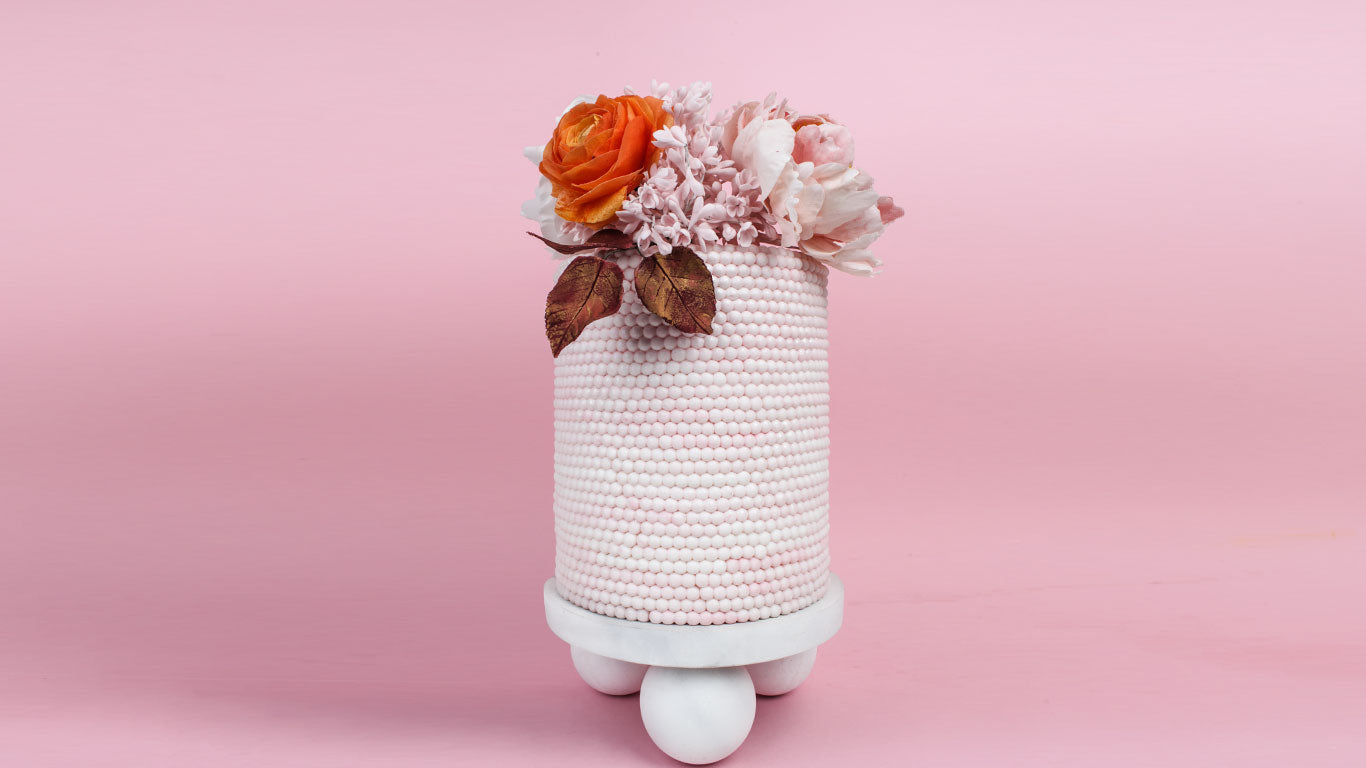
Brush the flat side of sugar paste pearls with edible glue and apply the pearls to cake dummy or real cake. Slightly press the pearls to your cake, if extra glue is needed to apply, lightly brush the cake with glue.


